Tell Me Questions
At the start of your UK driving test, the examiner will ask you one ‘Tell Me’ question before you start driving. These questions assess your knowledge of vehicle safety by requiring you to explain how you would carry out a specific check.
You will not need to physically demonstrate the check—just describe the correct procedure.
- If you answer incorrectly, you’ll receive one driving fault (minor).
- Incorrect answers alone will not cause you to fail, but consistent mistakes or unsafe driving could lead to a test failure.
Example Questions:
- Tell me how you’d check that the brakes are working before starting a journey.
- Tell me where you’d find the information for the recommended tyre pressures and how you’d check them.
General Tips:
- Stay Calm & Confident: When answering a Tell Me question, stay calm and explain the procedure clearly. If you’re unsure, take a moment to think before answering. It’s better to pause and give the correct answer than rush into an incorrect one.
- Be Clear & Detailed: Provide a step-by-step explanation of the safety check. The examiner is looking for a thorough understanding of the procedure.
- Practice Makes Perfect: Practice the common Tell Me questions in advance so you can respond confidently during your test. Familiarity with the checks will help you recall the correct steps quickly.
- Refer to Official Guidelines: Make sure your answers align with the official DVSA (Driver and Vehicle Standards Agency) guidelines to avoid mistakes.
- Stay Safe: Though you’re not required to physically demonstrate the check, ensure that you can explain the safety task in detail, reflecting your awareness of road safety and vehicle care.
Important Notes:
Always refer to the official Gov.uk site for the complete list of ‘Tell Me’ questions, as they may be updated over time.
Here is the list of 'Tell Me' questions
Q1.
How you’d check that the brakes are working before starting a journey.
- Brake pedal should feel firm, not feel spongy or slack. You can check by gently pressing the brake pedal as you set off.
- Also, the car should not pull to one side when it stops.
Q2.
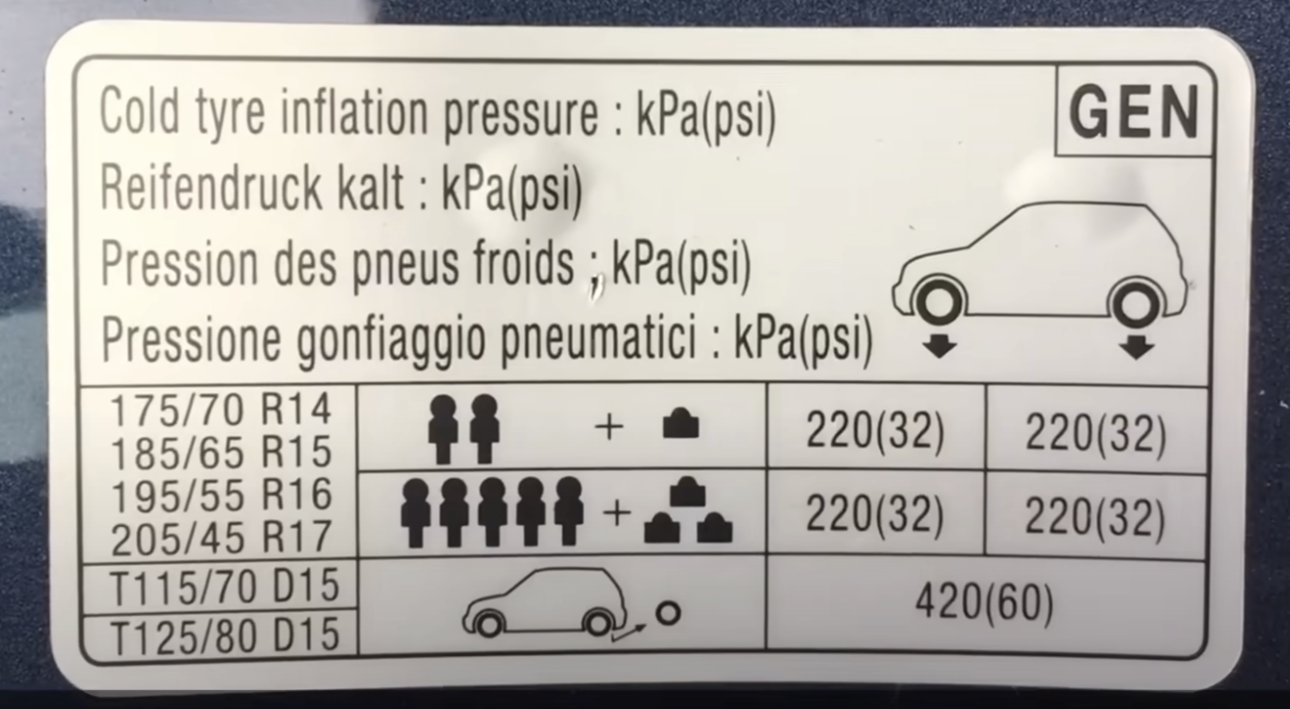
Where you’d find the information for the recommended tyre pressures for this car and how tyre pressures should be checked.
- In manufacturer’s guide (vehicle handbook) or on a sticker inside the driver’s door.
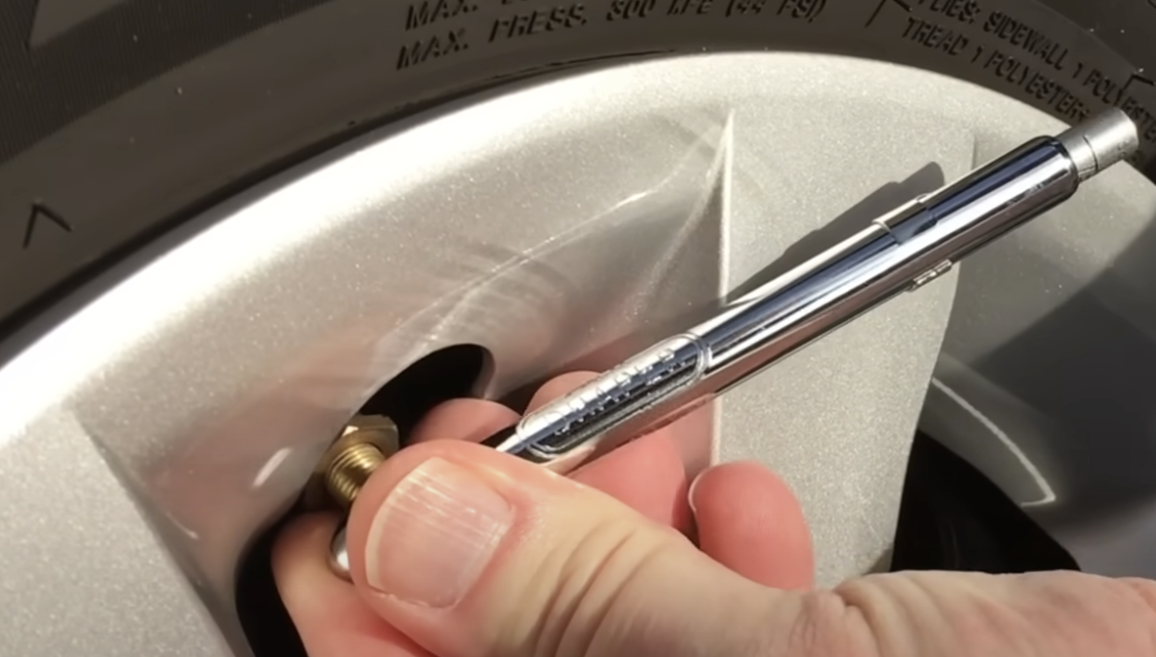
- Use a reliable pressure gauge to check tyre pressures when the tyres are cold.
- Check all tyres, including the spare, and refit the valve caps after checking.
Q3.
How you make sure your head restraint is correctly adjusted so it provides the best protection in the event of a crash.
- Check and adjust the head restraint until it is at least eye level and as close to your head as possible.
- This helps prevent whiplash injuries in a crash.

Q4.
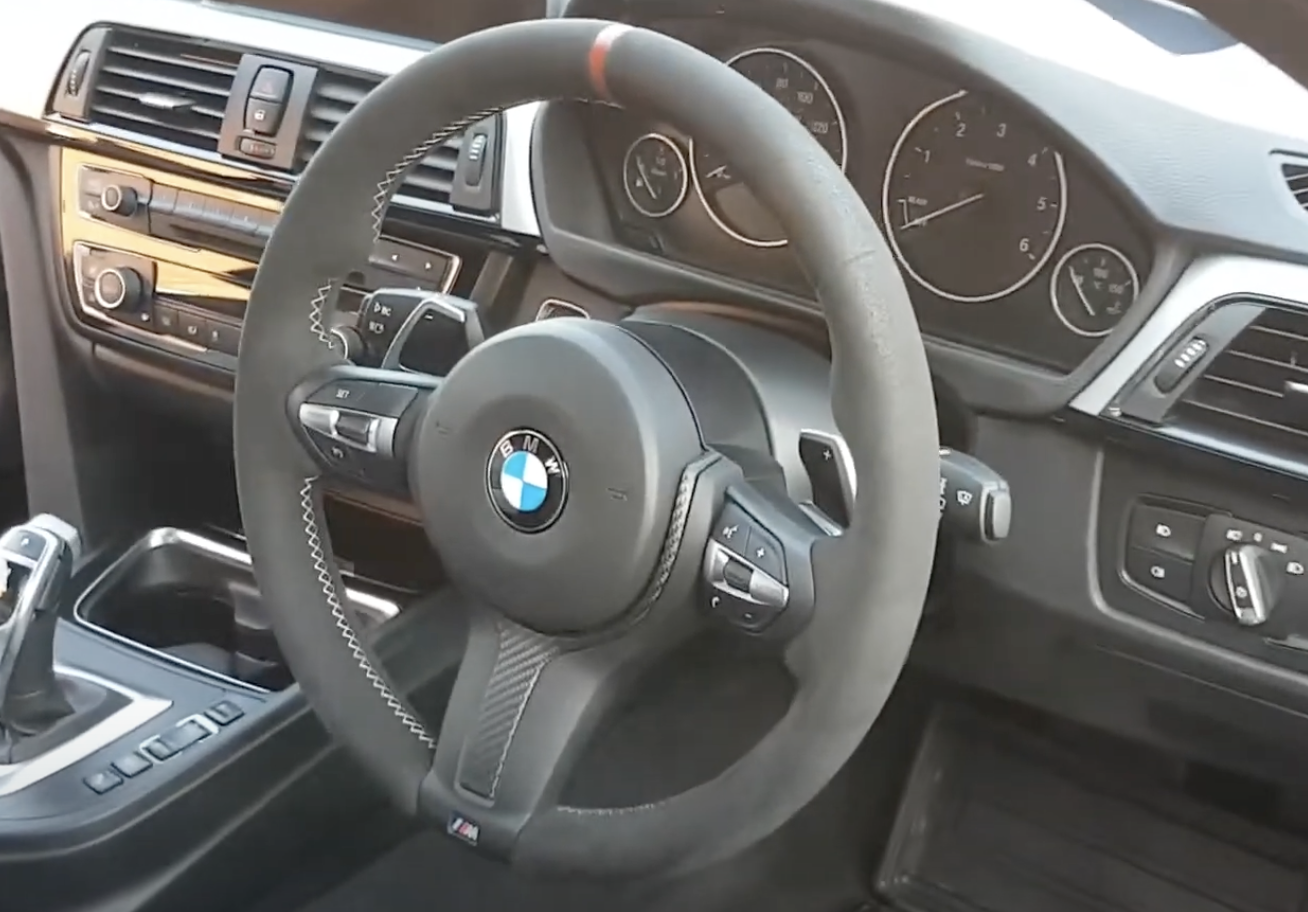
How you’d check the power-assisted steering is working before starting a journey?
To check that the power-assisted steering is working before starting a journey, follow these steps:
- Start the engine and turn the steering wheel to the left and right.
- If the steering feels light and easy to turn, then the power-assisted steering is working properly.
- If the steering feels heavy or stiff, there may be an issue with the power-assisted steering system, and it should be inspected by a mechanic.
Q5.
How you’d check the direction indicators are working.
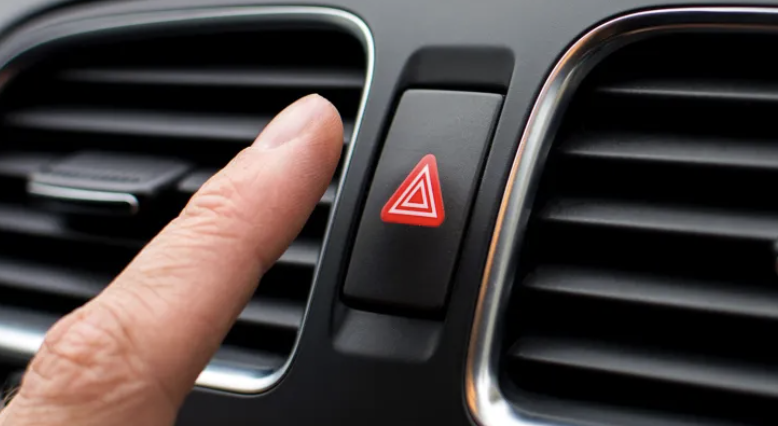
- Turn on the hazard warning lights.
- Check the dashboard warning light to confirm the indicators are flashing.
- Alternatively, operate the left and right indicator stalks one at a time and check the dashboard signals.
Q6.
How you’d check that the brake lights are working on this car.
- Press the brake pedal.
- Check for reflections in windows, doors, or mirrors to see if the brake lights illuminate.
- If possible, ask someone to stand behind the car and confirm that the brake lights are working.
Q7.
How you'd check the tyres to ensure sufficient tread depth and that their general condition is safe to use on the road.
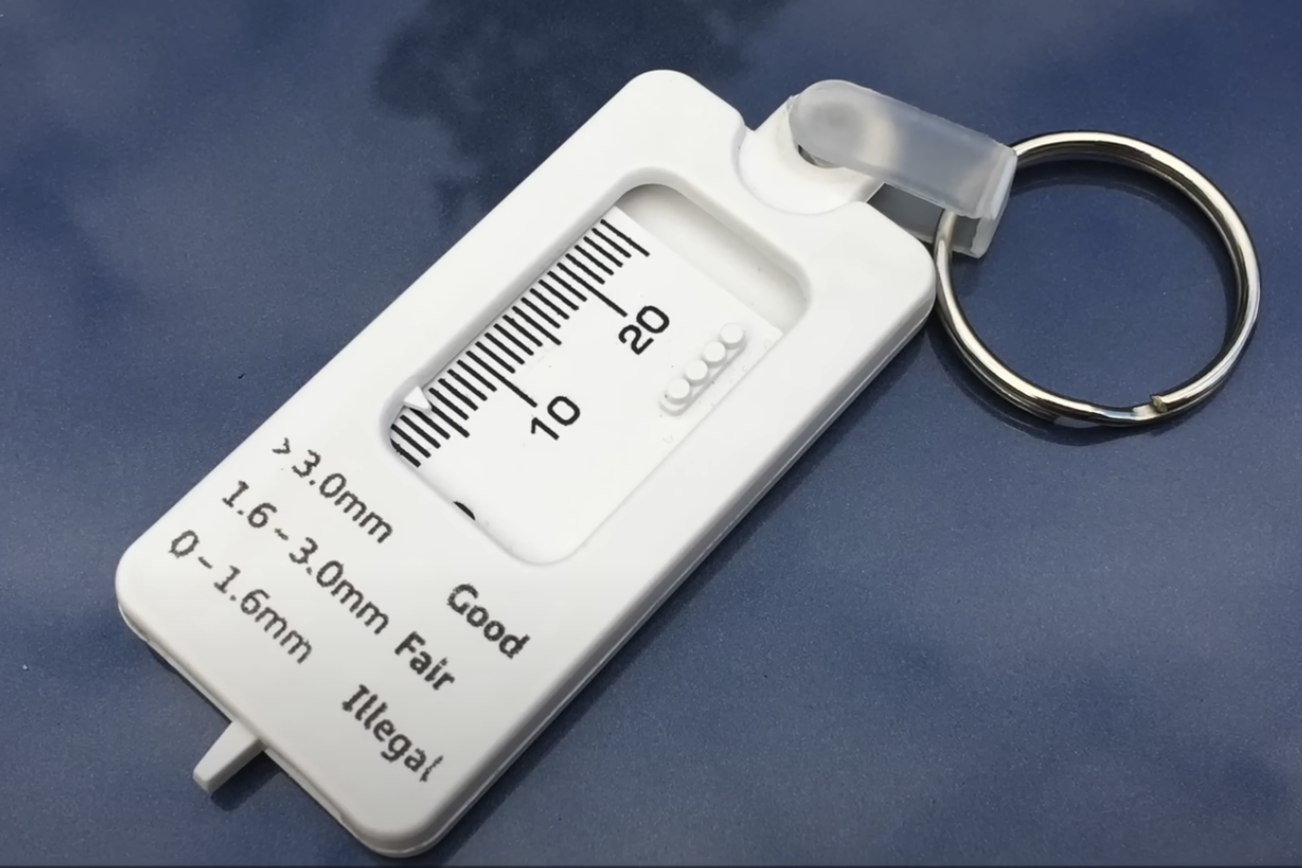
- Check all 4 tyres using a tread depth gauge to measure the central three-quarters of the breadth of the tyre. The tread must be at least 1.6mm to be legal.
- Ensure the tread depth is consistent around the entire outer circumference of the tyre.
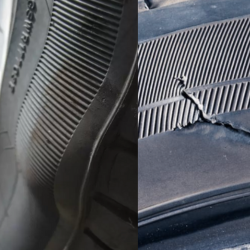
- Inspect the sidewalls of the tyre for cuts or bulges, as these can indicate damage and make the tyre unsafe.
Q8.
How you'd check that the headlights and tail lights are working.
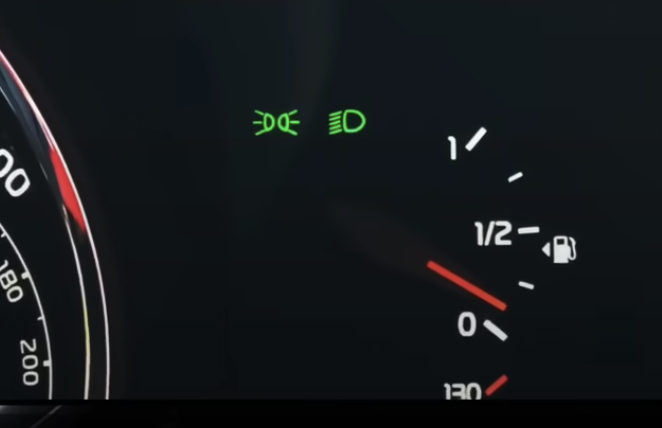
- Turn on the ignition if necessary.
- Switch on the dipped headlights.
- Check the dashboard warning light to confirm that the headlights and tail lights are on.
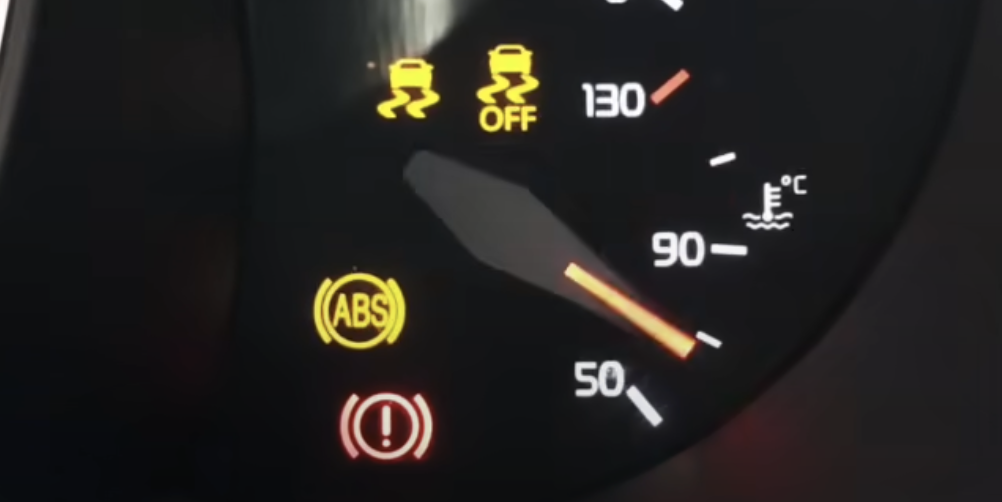
Q9.
How you'd know if there was a problem with your anti-lock braking system.
- Turn on the ignition and check dashboard for the ABS warning light.
- If the light stays on after starting the engine or illuminates while driving, it indicates a fault with the anti-lock braking system.
Q10.
How you’d open the bonnet.
- Locate the Bonnet Release Lever which is usually found inside the car, near the driver’s side footwell or under the dashboard.
- Pull the Release Lever to unlock the bonnet, causing it to pop up slightly.
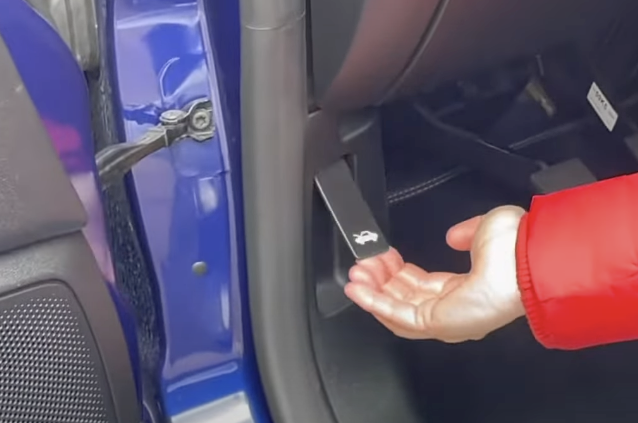
- Move to the front of the car and locate the secondary release latch (usually under the bonnet near the center in yellow colour). Lift or slide it to fully release the bonnet.

Q11.
How you’d check that the engine has sufficient oil.
Engine oil is used to lubricate engine parts, reducing friction and wear. To check it -
- Open the bonnet.
- Locate the dipstick (usually a yellow handle).
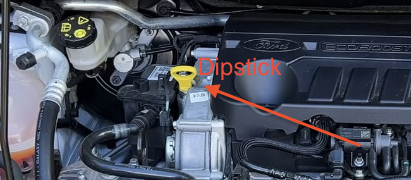
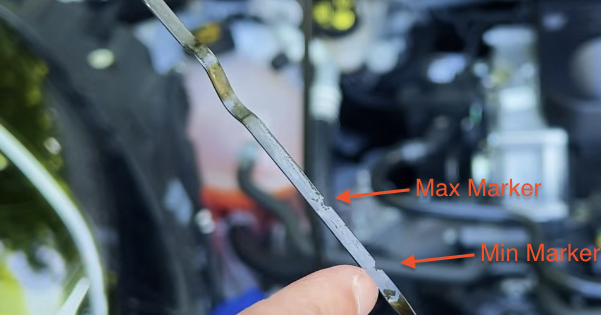
- Remove the dipstick, wipe it clean with a cloth, then insert it back fully and remove it again.
- Check that the oil level is between the minimum and maximum markers on the dipstick when the engine is cold.
- If the oil is low, top it up using the oil filler cap, being careful not to overfill.
Q12.
How you'd check that the engine has sufficient engine coolant.
Engine coolant is used to regulate engine temperature and prevent overheating. To check it -
- Open the bonnet.
- Locate the engine coolant reservoir (a translucent tank with high/low level markings).
- Check that the coolant level is between the minimum and maximum markers on the reservoir.
- If the level is low, top it up with the correct type of coolant when the engine is cold, to avoid burns.

Q13.
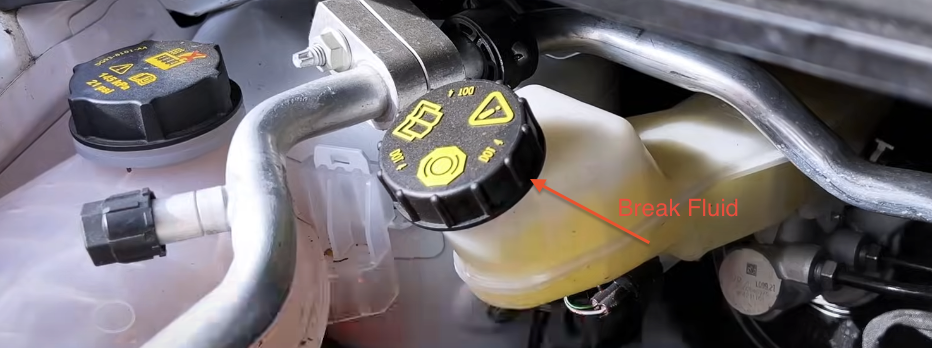
How you'd check that you have a safe level of hydraulic brake fluid.
Brake fluid is used to transfer force from the brake pedal to the brakes, allowing the vehicle to stop safely. To check it:
- Open the bonnet.
- Locate the brake fluid reservoir (usually labeled and near the back of the engine bay).
- Check that the fluid level is between the minimum and maximum markers on the reservoir.
- If low, top up with the correct type of brake fluid as specified in the vehicle manual.
- Never let brake fluid touch paintwork as it can cause damage.
Q14.
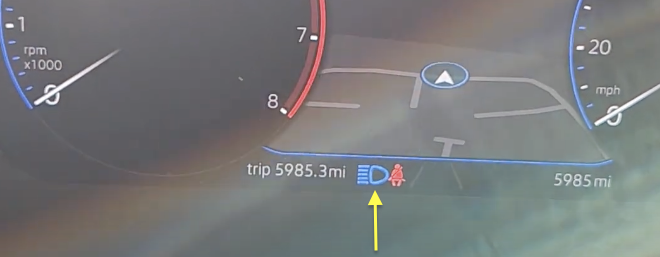
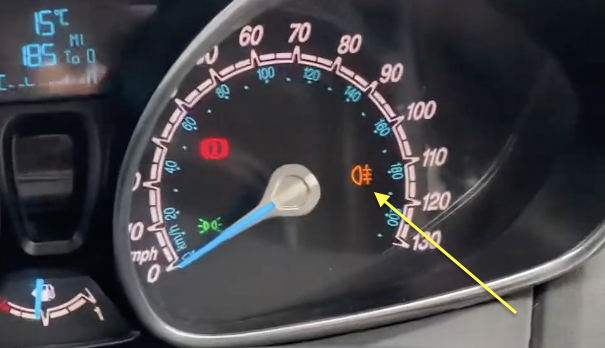
How you'd switch on the rear fog light(s) and explain when you'd use it/them.
Rear fog lights are used to increase your visibility to other drivers when driving in low visibility conditions, such as fog, heavy rain, or snow. To switch them on:
- Turn on the ignition if necessary.
- Switch on the dipped headlights.
- Locate and activate the rear fog light switch (usually indicated by a symbol of a lamp with lines coming out the side).
- Ensure the dashboard warning light is on, indicating that the rear fog lights are active.
Note: You should only use rear fog lights in conditions of low visibility. Using them in clear weather can dazzle other drivers.
Q15.
How you'd switch headlight from dipped to main beam and explain how you'd know the main beam is on.
To switch your headlights from dipped beam to main beam:
- With the headlights turned on, push or pull the indicator stalk (usually located on the left side of the steering wheel) to activate the main beam.
- To switch back to dipped beam, simply push or pull the stalk again in the opposite direction.
How to know the main beam is on:
- A blue main beam warning light will appear on the dashboard. This light typically resembles a headlamp with blue rays coming from it.